How to Clone Your Drive to a New SSD Without Reinstalling Windows
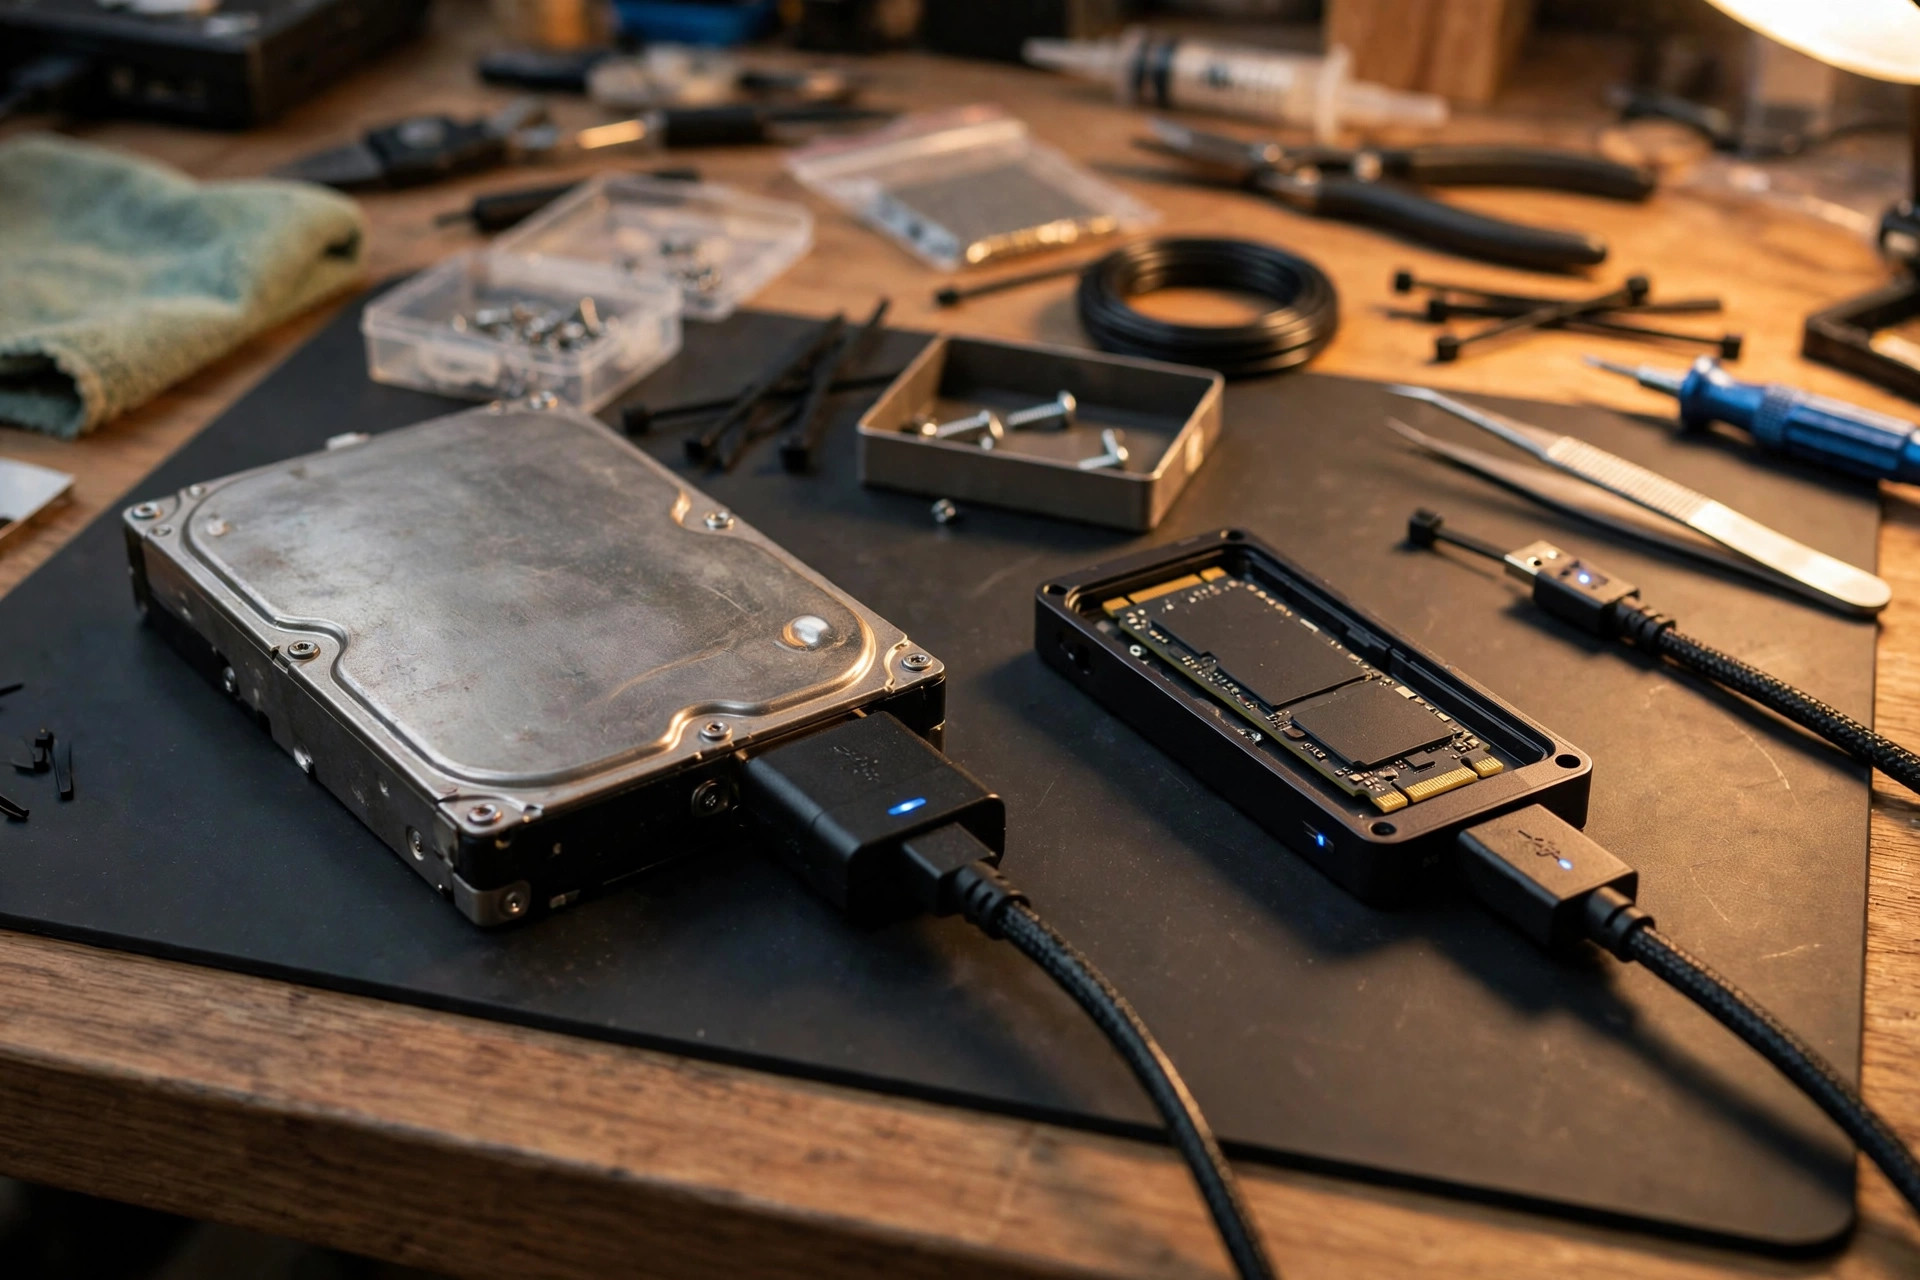
Upgrading to a new SSD does not have to mean a weekend of reinstalling Windows, re-downloading applications, and re-entering license keys. Learning how to clone SSD to new SSD properly turns that weekend into about an hour of mostly unattended work. Drive cloning copies everything — the operating system, applications, settings, user profiles, and files — bit for bit, so the machine boots up exactly as you left it, only faster.
This guide covers the full process: required hardware, software choices, the step-by-step clone, NVMe-specific gotchas, and the verification checks that separate success from a ticking time bomb. It assumes a healthy Windows 10 or 11 system moving to equal or larger storage.
Before you start: what you need
The shopping list is short. First, the new SSD itself — NVMe or SATA, from a reputable brand, sized at least as large as the used space on your current drive. If you are still deciding on capacity, see our 2TB vs 4TB SSD capacity guide for 2026 first.
Second, a way to connect both drives at once — the clone reads from the old drive while writing to the new one. The options, in order of preference:
- A spare M.2 slot on your motherboard — fastest and most reliable for NVMe-to-NVMe clones. Check your manual: some secondary slots are Gen3 or share bandwidth with SATA ports.
- A USB-to-NVMe enclosure — the flexible option for laptops or single-slot desktops. A USB 3.2 Gen 2 (10 Gbps) enclosure keeps a 1TB clone in the 20–30 minute range.
- A SATA-to-USB adapter — for older SATA SSDs or 2.5-inch drives. Slower, but perfectly adequate for the job.
Third, cloning software. There is no need to pay for this — the free tier of the market covers every scenario below.
Picking your cloning software
Four tools dominate the space, and they are not interchangeable. The right choice depends on your comfort with technical tools and what your SSD vendor bundles.
| Tool | Cost | Ease of use | Best for |
|---|---|---|---|
| Macrium Reflect Free | Free | High | Most Windows users — polished wizard, reliable rescue media |
| Clonezilla | Free / open source | Low | Advanced users, Linux dual-boot systems, partition-level control |
| SSD vendor migration tools | Free with drive | High | Brand-loyal upgrades (check your manufacturer's support page) |
| Acronis True Image (OEM editions) | Free via partners | High | Users whose SSD purchase includes a bundled license |
Macrium Reflect Free is the default recommendation for most readers: its clone wizard handles partition resizing automatically, and its rescue media builder gives you a bootable fallback if anything goes sideways. Clonezilla is more powerful but runs from a text-mode interface — use it if you dual-boot Linux, since it understands ext4 and other filesystems that Windows-centric tools sometimes fumble. Vendor tools are worth checking first because they are pre-tuned for the drive you just bought, and many SSDs are supported by the free Acronis True Image OEM versions distributed through hardware partners.
How to clone SSD to new SSD, step by step
With the new drive connected and software installed, the clone itself is straightforward — but follow the direction of data flow carefully.
- Back up anything irreplaceable first. Cloning is reliable, but it is still a block-level operation on your only copy of the data. Copy critical documents and photos to an external drive or push them to cloud backup before you begin. Fifteen minutes of precaution beats any data recovery bill.
- Initialize the new SSD in Disk Management (Win+X → Disk Management). It will prompt you to choose GPT or MBR — match your source drive. Windows 11 requires GPT; virtually every modern system uses it.
- Launch the cloning tool and select the source. The source is your OLD drive — the one with Windows on it. Double-check the drive letter, size, and model name.
- Select the destination. The destination is the NEW, empty SSD. Most tools display a stark warning that all data on the destination will be destroyed. Read it. Then read it again. Cloning the empty drive onto your full one is the classic, unrecoverable disaster — there is no undo.
- Adjust partitions if needed. Cloning to a larger drive? Tell the tool to expand the main partition to use the extra space (or do it afterward in Disk Management). Cloning to a smaller drive? Only works if the used space fits — shrink partitions first.
- Start the clone and walk away. A 1TB clone typically takes 20–60 minutes: NVMe-to-NVMe on internal slots is fastest, USB adapters slowest. Avoid heavy computer use during the clone.
When the tool reports success, do not boot yet. Shut the machine down fully — a restart is not enough, because some firmware only re-enumerates boot devices on a cold boot.
NVMe and Gen5 specifics worth knowing
NVMe clones have two quirks that SATA-era guides never mention. First, boot mode matters: NVMe drives only boot in UEFI mode, not legacy BIOS. If your old system was installed in legacy mode on a SATA drive, the cloned NVMe may refuse to boot until you convert the installation to UEFI (Microsoft's mbr2gpt tool does this non-destructively). Most Windows 10/11 systems from the last decade are already UEFI, so this mainly bites people upgrading very old machines.
Second, do not benchmark the new drive while it is still in the USB enclosure — it only reaches full speed once installed internally. And if it is a Gen5 model, confirm your motherboard slot and cooling can feed it; our Gen5 SSD worth-it analysis covers when that premium makes sense versus a top-tier Gen4 pick from the best NVMe SSD 2026 shortlist.
Protect yourself: backups, encryption, and the data recovery question
If a clone is interrupted — power loss, a loose USB cable, a frozen tool — the source drive is normally untouched; just start over. The genuine danger is human error: wrong direction, wrong drive selected, or wiping the old drive before verifying the new one boots.
That last point deserves emphasis. Keep the old drive physically untouched for at least a week after the migration. It is your instant rollback: if the new SSD develops a fault or you discover a missed partition, you swap back in five minutes. Only wipe it once the new drive has survived a week of daily use. For genuinely irreplaceable data, a clone is not a backup strategy — pair the migration with a real cloud backup subscription so a house fire or theft does not take both copies. And if your backup media carries sensitive work data, consider making it encrypted: our hardware-encrypted USB drive guide walks through the options.
If the worst does happen — the old drive fails mid-migration, or you clone in the wrong direction — stop using the affected drive immediately. Every write reduces what data recovery software can retrieve, and professional data recovery services charge by the hour. Prevention (backups, direction checks) is orders of magnitude cheaper than the cure. And if your old drive was encrypted with BitLocker, have the recovery key handy before you start — the clone carries the encryption with it, and you will need the key on first boot from the new drive.
After the clone: the verification checklist
Shut down, swap the boot order (or physically swap the drives), and boot. Then work through these checks:
- Confirm you booted from the new drive. Open Disk Management and verify the boot volume sits on the new SSD's model name — not the old one.
- Verify Windows activation. Digital licenses usually carry over automatically since they are tied to the motherboard, not the drive. Check Settings → System → Activation.
- Extend the partition if the new drive is larger. Disk Management → right-click the OS volume → Extend Volume, to reclaim the unallocated space the clone left behind.
- Check TRIM is enabled. Run
fsutil behavior query DisableDeleteNotifyin an admin terminal — a result of 0 means TRIM is on. It should be automatic, but verify; without TRIM, long-term write performance degrades. - Update the drive firmware via the manufacturer's utility.
- Keep the old drive untouched for a week as a fallback before wiping it — as discussed above, this is your free insurance policy.
For laptop users doing the swap with a USB enclosure: once verified, the old drive in the enclosure becomes a handy external drive. A 1TB SATA SSD in a $15 enclosure is one of the more useful objects you can own.
When cloning is not the answer
Cloning is a faithful copy — virtues and vices alike. If Windows is misbehaving — mysterious crashes, a Start menu full of software you installed in 2019 and never opened, driver conflicts you have been working around for years — cloning copies the problems too, onto faster hardware. A clean install is the better medicine then: it is more work up front, but it is the only way to shed accumulated cruft.
Cloning is for healthy systems moving to faster hardware, not for exorcisms. If Windows needs constant troubleshooting, take the migration as your excuse for a fresh start: install clean on the new SSD and restore files from backup.
FAQ
Can I clone a larger drive to a smaller SSD?
Yes, if the used space on the source fits the destination. Shrink the source partitions first (Disk Management → Shrink Volume), then clone. Good tools refuse the operation rather than silently truncating data.
Will cloning break my Windows activation or installed software?
Almost never. Windows digital licenses are tied to the motherboard, not the drive, so activation carries over, and installed software moves with the clone exactly as it was. The rare exception is software licensed to a specific drive serial number.
How long does it take to clone a 1TB SSD?
Typically 20–60 minutes for 1TB of actual data — NVMe-to-NVMe is fastest, USB slowest. Tools copy used blocks, so a half-empty drive clones much faster than a full one.
Do I need to reinstall drivers after cloning to a new SSD?
No — drivers live in the OS image, which the clone preserves. The rare exception is moving from an Intel RST RAID configuration to standalone NVMe, where you may need to switch the controller mode in UEFI first.
What is the best portable SSD 2026 option for holding my backup during the clone?
Any reputable USB 3.2 Gen 2 portable SSD of 1TB or more works for staging backups — our best portable SSD 2026 picks favor hardware-encrypted models for sensitive data. For irreplaceable files, pair the local copy with cloud backup.
Bottom line: Cloning turns an SSD upgrade into a one-hour job instead of a one-weekend project. Back up first, triple-check the clone direction, verify the boot and TRIM, and keep the old drive as a fallback for a week.